Showing posts with label crafts. Show all posts

Wednesday

Last Minutes Gifts!

Need some last minute gifts and don't want to get out in the insanity again!  Try these gifts you can put together from ingredients you may already have in your kitchen!

I really love making homemade gifts.  There's just something about creating things someone else will enjoy.

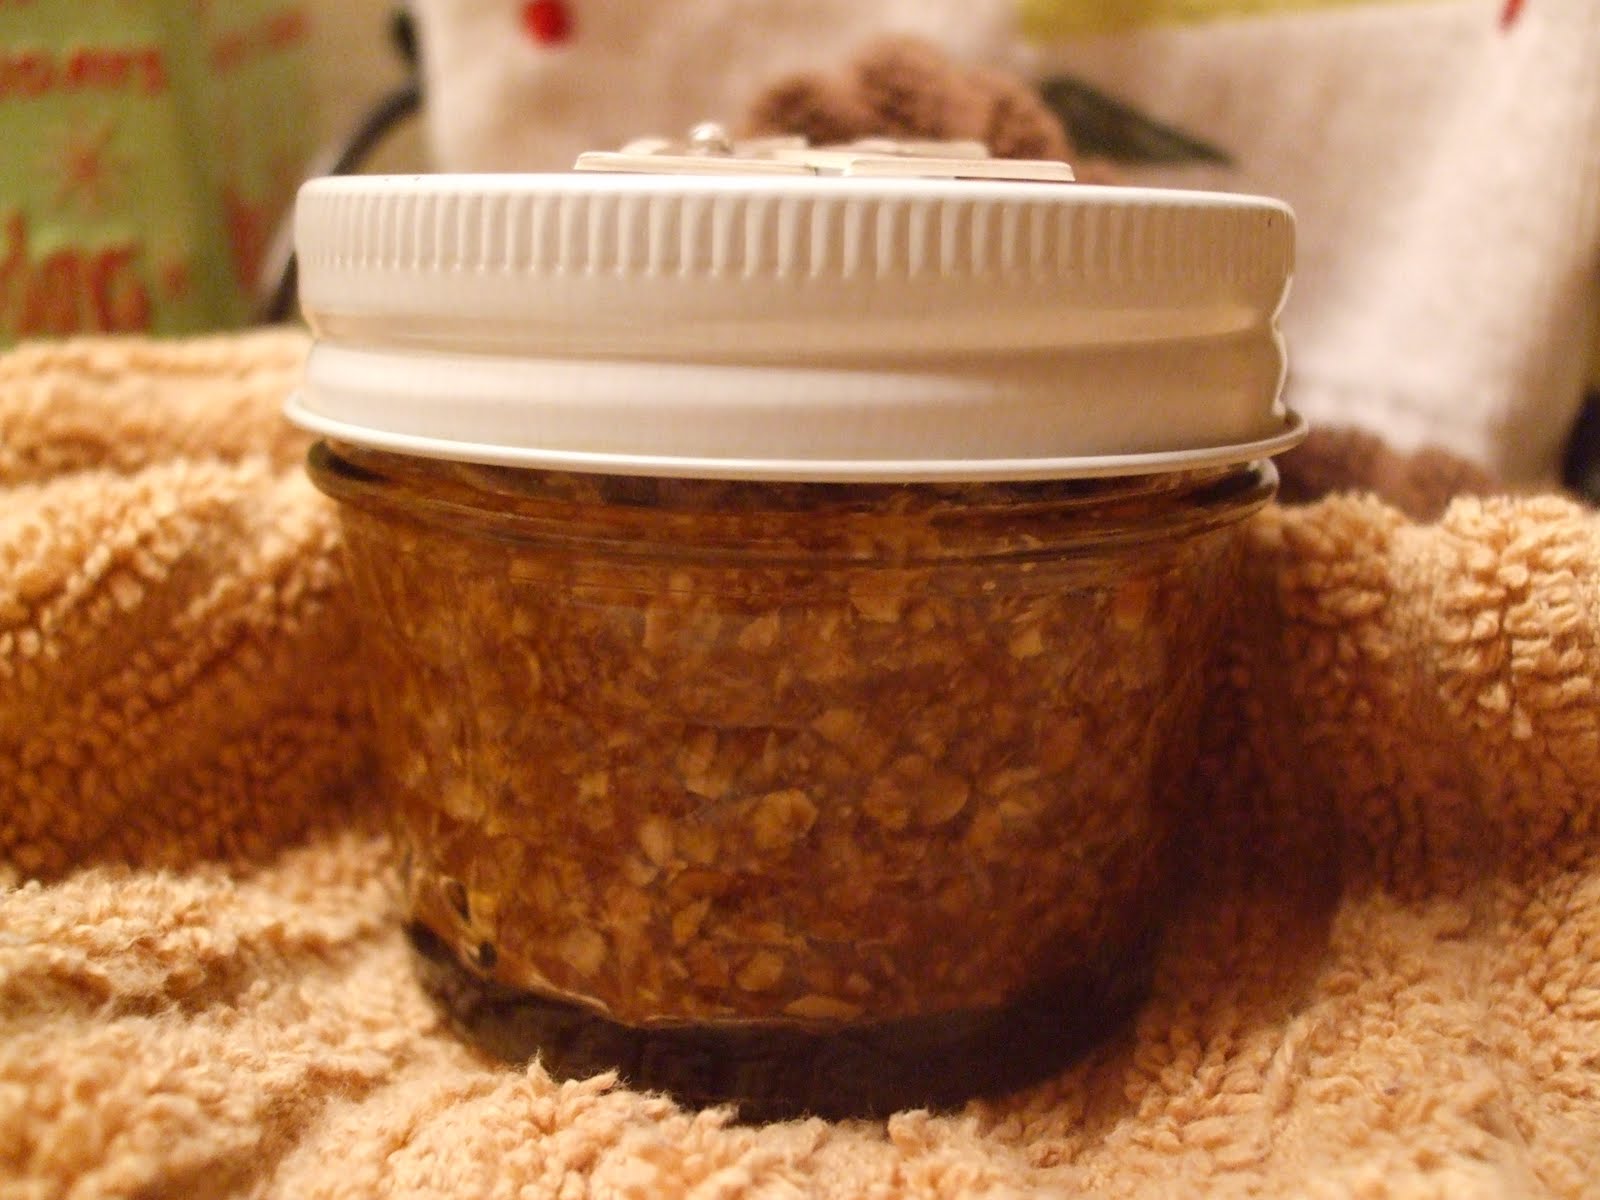
The pictures are mostly self explanatory, but I'll include the link for the salsa and scrub, so you can whip some last minute goodies for yourself!


with
Homemade Corn Chips


You haven't tasted chips till you make your own!  Cut corn tortillas with pizza cutter, heat oil, drop in and cook for about a minute.  Remove and place on paper towels to drain.  While still hot, salt to taste.  Yummo!

This is so delish!  Very easy to make and so colorful.  Lots of chopping, but a food processor can become your best friend.  If you want a little more heat, just add one more jalapeno pepper.


Almond Bark Popcorn
I mean, it doesn't get any easier than this!  Melt the almond bark, pop the corn, pour it over, stir, spread it out to dry and bag it!

I added a cute little candy cane for decoration, then printed the story of the candy cane on business cards.


(you could eat this!)

I had this sweet little 'K' in my stock of stickers. This gift is for my sister and her name just happens to start with a 'K'......


Check out your kitchen to see if you have some last minutes gifts to make!!

Have a wonderful Christmas! 


Hugs,

Friday

Behind curtain #1


Oh my gosh!  Computer wires!

They have bugged me for years. I have tried to ignore them, but no matter how well I organize my office, there they are, staring at me.


Mangled and tangled.

It's like they have a mind of their own and I don't like what they are saying! 

I have gone as far as to place a framed piece of art about the size of the opening under my desk in an attempt to hide them.

The only problem was it was always falling over on my feet.
Not a good idea after all.


Then while going through stuff for my garage sale, I suddenly had an epiphany!  Yes, I said epiphany.

Here's what I came up with...


Left over fabric, fabric glue, tension rod.

Ta Da!  Hey!  Not bad, huh?  NO more wires!!!!


Let us in on some ways you have hidden or disguised your ugly monster of wires!


I'm linking to these fabulous parties!

Tuesday

The Baby Tree

I love to decorate for baby showers.  Especially for little girls.  Everything can be so frilly and feathery and fun!

I like to create something different, something maybe no one else has seen before.

Although I know nothing is new under the sun, I still think this Baby Tree is pretty neat-o!


I started with some branches I found in my yard. (free)
Then spray painted them with left over white paint.  (free)

Placed them in a container from the $ store.  ($1)
Poured in some clear glass marbles left over from a wedding to
 hold them in place.  (free)


Tied ribbon in varying lengths onto the branches.  ($3)
Punched holes in scripture cards I made on my computer left over from my daughter's baby shower and tied them on the ribbon.  (free)


Tied baby party favors on the ribbon.  ($2)
Clipped on tiny pink clothes pins to hold money and gift cards.  ($1)


The mother-to-be was very pleased with her Baby Tree!


Warmly,
gail
Check out these great ideas!!


Wednesday

DIY Bird Bath

  I wanted to create an area outside my office window that would be pleasant to look at while I paid bills, blogged and all the other stuff I do at my desk.

You know, bird bath, hanging baskets of flowers, ceremic things and so on.  Well, have you priced bird baths lately?!  I must admit I was in sticker shock.
So, I decided to try to make one myself.
 I already had in my possession, broken tile I had gotten at Lowes for next to nothing and a plant stand I wasn't using.  All I had to purchase was a container for the water and the grout for the tile.

Here is how I did it...


I broke the tile with a hammer.  Be sure and cover the tile with a towel or newspaper to protect your eyes.


Arranged the tile and glued it to the saucer.

Applied the mosaic grout and let it set according to the directions.


Sponged it off.


Applied clear glaze.

Glued it the top of the stand, filled with water and waited for the birdies!!


Now I'm itching to tile something else! 


Check out these great ideas!


Warmly,
gail

Sunday

Faux Eggs!!

When I was 'springing' up my house last week,
 I wanted to display a
 birds nest with some small eggs. 

 I searched in all my seasonal decor and couldn't find any at all.


                                            What was I to do?

(this is me thinking)


Then I found a huge bag of....
Pecans??  Why not?  They sorta look like eggs, don't they?


See that little pointy thingy? 


Since eggs don't have those, I filed them off with a fingernail file.


Then I painted them.  This paint is green because I got it on clearance.  You've heard of green eggs and ham!


I used acrylic paint.
  I tried spray paint but the acrylic covered in one coat.


I think I needed to file it a little more.


I used a felt tip pen because I wanted them to have spots, like this...


These are real eggs in a real nest.


Pecan Eggs...all cozy in their nest!
(The flash on the camera make them look blue.)


Ready for Spring!


I know you ladies have some great ideas and I would to hear them!

Warmly,
gail

~~your comments make me smile!~~


I'm linky to the party!!


Saturday

Door Hanger for Baby

When my new granddaughter and niece were born, my sister and I wanted to give them a door hanger to announce the birth of their babies.
Sooo, we decided I would make them instead of purchasing them ready made.

While searching the internet for ideas, I came upon a very unique one that I had not seen before and I wanted to make my version of it.

We set out to find all the goodies to make this adorable door hanger.  I have to say, shopping for it was so much fun!  We had to be careful not to get to carried away!

Here's how it started....


Since it was around Valentine's Day when we did this, we were able to find so many cute things just for little girls.


I started with this adorable wall pocket.  Cut some floral foam and hot glued it inside.  Then I cut the flowers to the height I wanted and began inserting them into the foam.  I did not hot glue them in place.  They stayed nicely on their own.


Ribbon, ribbon, ribbon!!  I cut it all to length in varying sizes.


Then these were hot glued onto the ribbon.  Be careful.  It is so easy to burn your fingers when working with something this small.  You may want to have a small bowl of cool water handy to plunge your fingers into!
You can also add letters for the baby's Lbs and Inches down the ribbon, which I did. 


We found a small wooden plaque that had the ribbon already attached.  Then I placed self sticking letters to spell her name.  I'm telling you, we were really blessed doing this around Valentine's Day.  So much cool stuff to choose from! 


Next, just start tying your ribbon and other accessories onto the wall pocket.   How sweet!


The little bear was just nestled into the flowers so Mom could take it out for Baby to play with later. 


Both Mom's were very happy with their new door hanger.


I've linked this post to


  Click on over and join the party!!